

As I created my blog, I want to quick release my changes with the only commit to the git. So I started using AzureDevOps – to achieve this what I need.
I started to create from scratch with the brand new project.
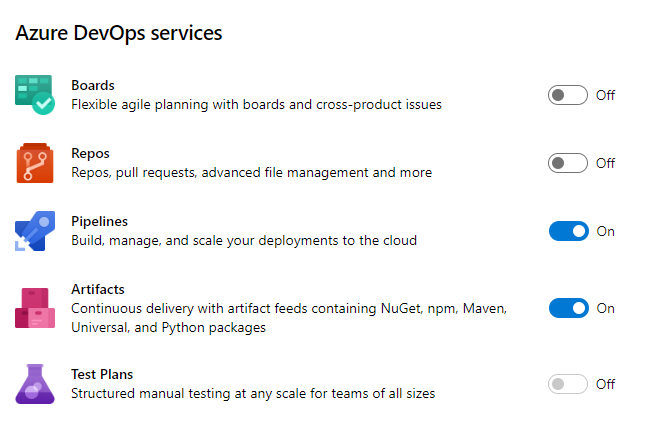
Because my code stored on GitHub, I switched off all Azure DevOps Services to leave only those that help me build and release the blog.
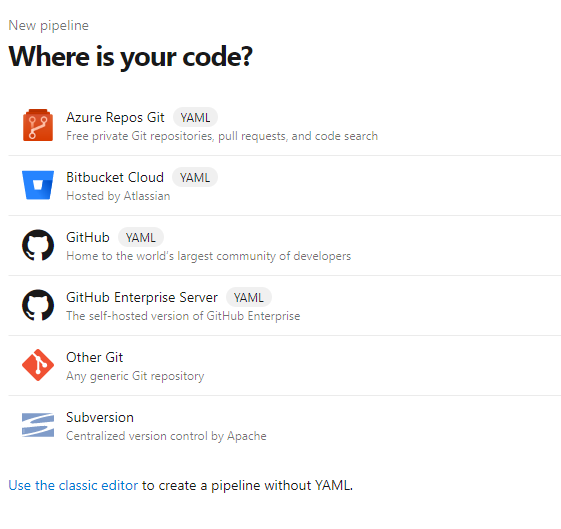
Next, I started to create a build – and there when I found that now to create a pipeline I need to use YAML (there is as well an option to use the classic editor, but I wanted to learn and use the new way of creating a pipeline)
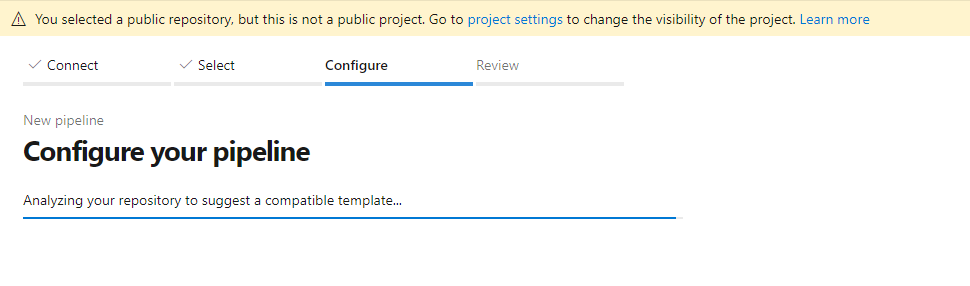
When I connect my GitHub account and choose the project (blog) I want to use for build – the Azure DevOps started to analyse my code to find the best basic configuration I can start from. Also, it is showing me the warning that my project is not public, but the repository is. It’s because Azure DevOps create an azure-pipelines.yml file in my repo, so I can easily use the configuration in future.
Moreover, in my case it back with NodeJs samples.
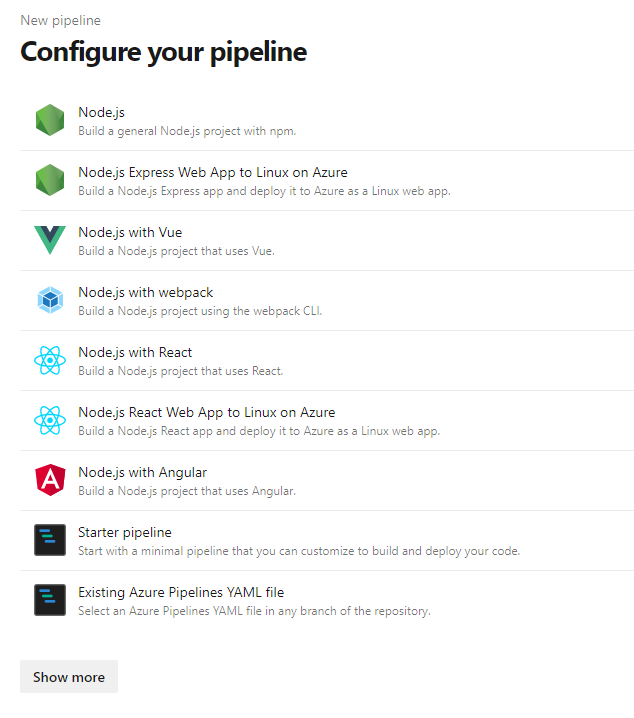
When I choose the NodeJs project with React, I’ve got the basic code that I can start from. From here I can edit the code or save and run and test the build.
# Node.js with React
# Build a Node.js project that uses React.
# Add steps that analyze code, save build artifacts, deploy, and more:
# https://docs.microsoft.com/azure/devops/pipelines/languages/javascript

trigger:
- master

pool:
  vmImage: 'ubuntu-latest'

steps:
- task: NodeTool@0
  inputs:
    versionSpec: '10.x'
  displayName: 'Install Node.js'

- script: |
    npm install
    npm run build
  displayName: 'npm install and build'
I use the Gatsby, so I needed to add an extra configuration to build and creating my production (public) files. With the help to configure the build are coming some task helpers.
To the yaml code, I needed to add extra tasks that will put all the builded code to one folder.
First, I started with variables:
- projectFolder – where is my source code is stored
- buildOutputFolder – where the public, working website will be stored
variables:
  projectFolder: 'src'
  buildOutputFolder: 'public'
And tasks to copy files and publish them to the drop folder
- task: CopyFiles@2
  inputs:
    sourceFolder: '$(buildOutputFolder)'
    contents: '**/*'
    targetFolder: '$(Build.ArtifactStagingDirectory)/drop'
    cleanTargetFolder: true

- task: CopyFiles@2
  displayName: 'Copy Files to: $(Build.ArtifactStagingDirectory)'
  inputs:
    SourceFolder: '$(buildOutputFolder)'
    TargetFolder: '$(Build.ArtifactStagingDirectory)'

- task: PublishBuildArtifacts@1
  displayName: 'Publish Artifact: drop'
The latest version of my pipeline you can find here: azure-pipelines.yml
So now, when my code builds successfully, I can move to create a Release:
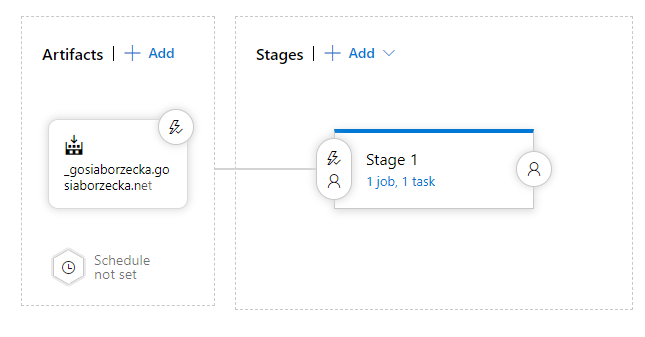
My Release has only one task, and it starts every time the build is finished with success.
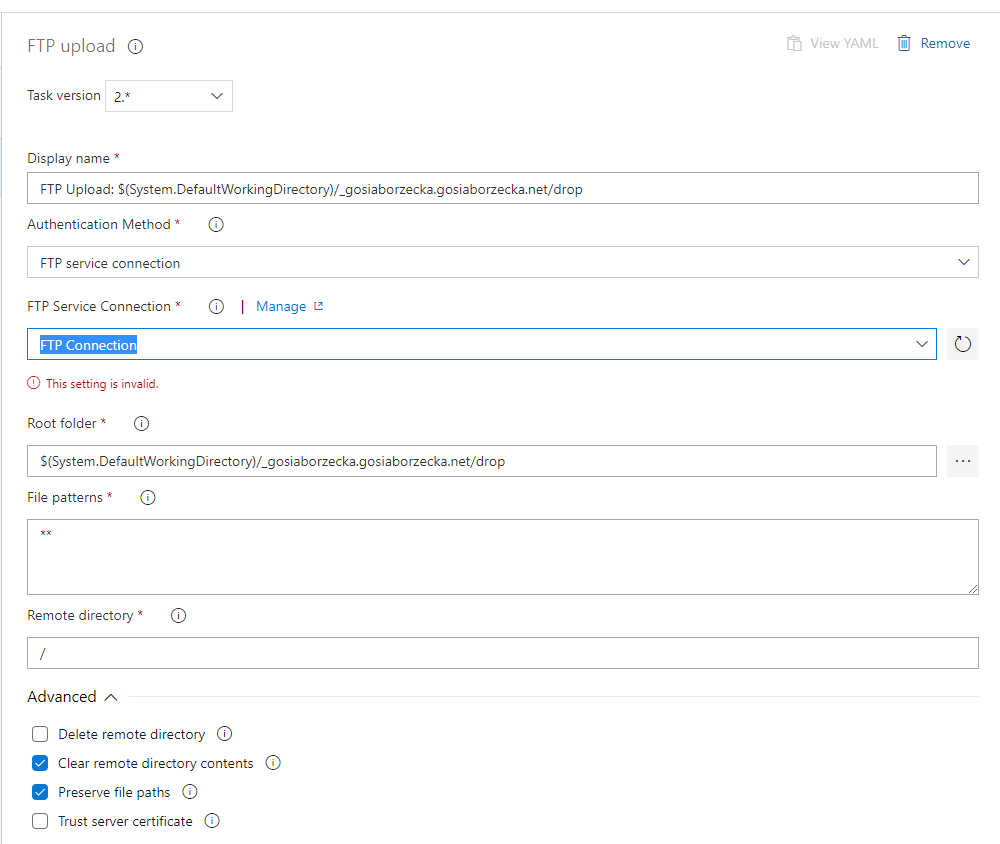
The task is simple to upload all files from the drop folder into my FTP.
I checked two options:
- Clear remote directory contents – to put a fresh version of my website
- Preserve file path – to files will be in the same folder as in the drop
And the YAML output looks like:
steps:
- task: FtpUpload@2
  displayName: 'FTP Upload: $(System.DefaultWorkingDirectory)/_gosiaborzecka.gosiaborzecka.net/drop'
  inputs:
    serverEndpoint: FTP Connection
    rootDirectory: '$(System.DefaultWorkingDirectory)/_gosiaborzecka.gosiaborzecka.net/drop'
    remoteDirectory: /
    cleanContents: true
    preservePaths: true
Creating this pipeline and learn how YAML working was not difficult, and some great resources helped me to achieve my build/releases process: