The project bird idea
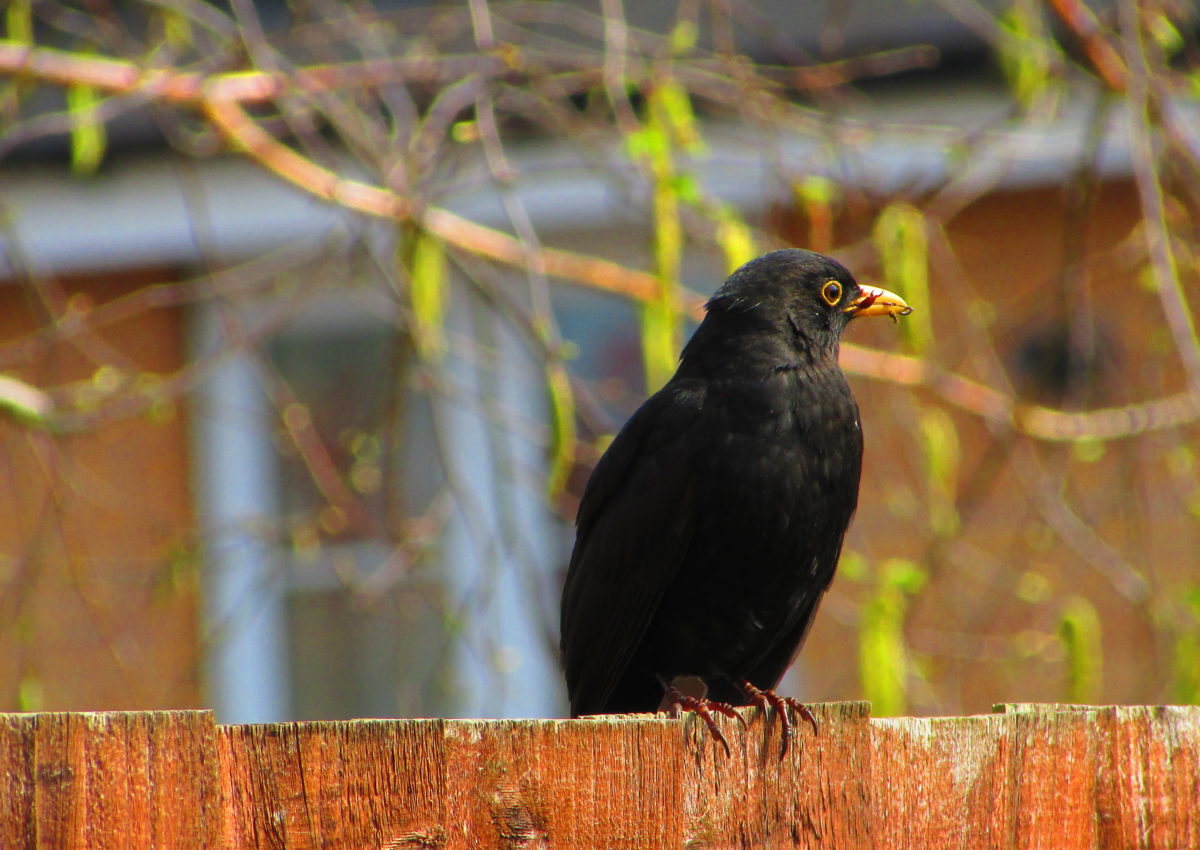
To my garden time to times come some birds. They are nice, sing nice and they all are welcome but one – the pigeons. I simply don’t like them and don’t want that they walk around my garden.
So, I wanted to create something that will show them and only them that they should go. And this what all birds don’t like is some movement or loud voice or even clapping.
And with this come the idea to get my old Raspberry PI and finally use it.
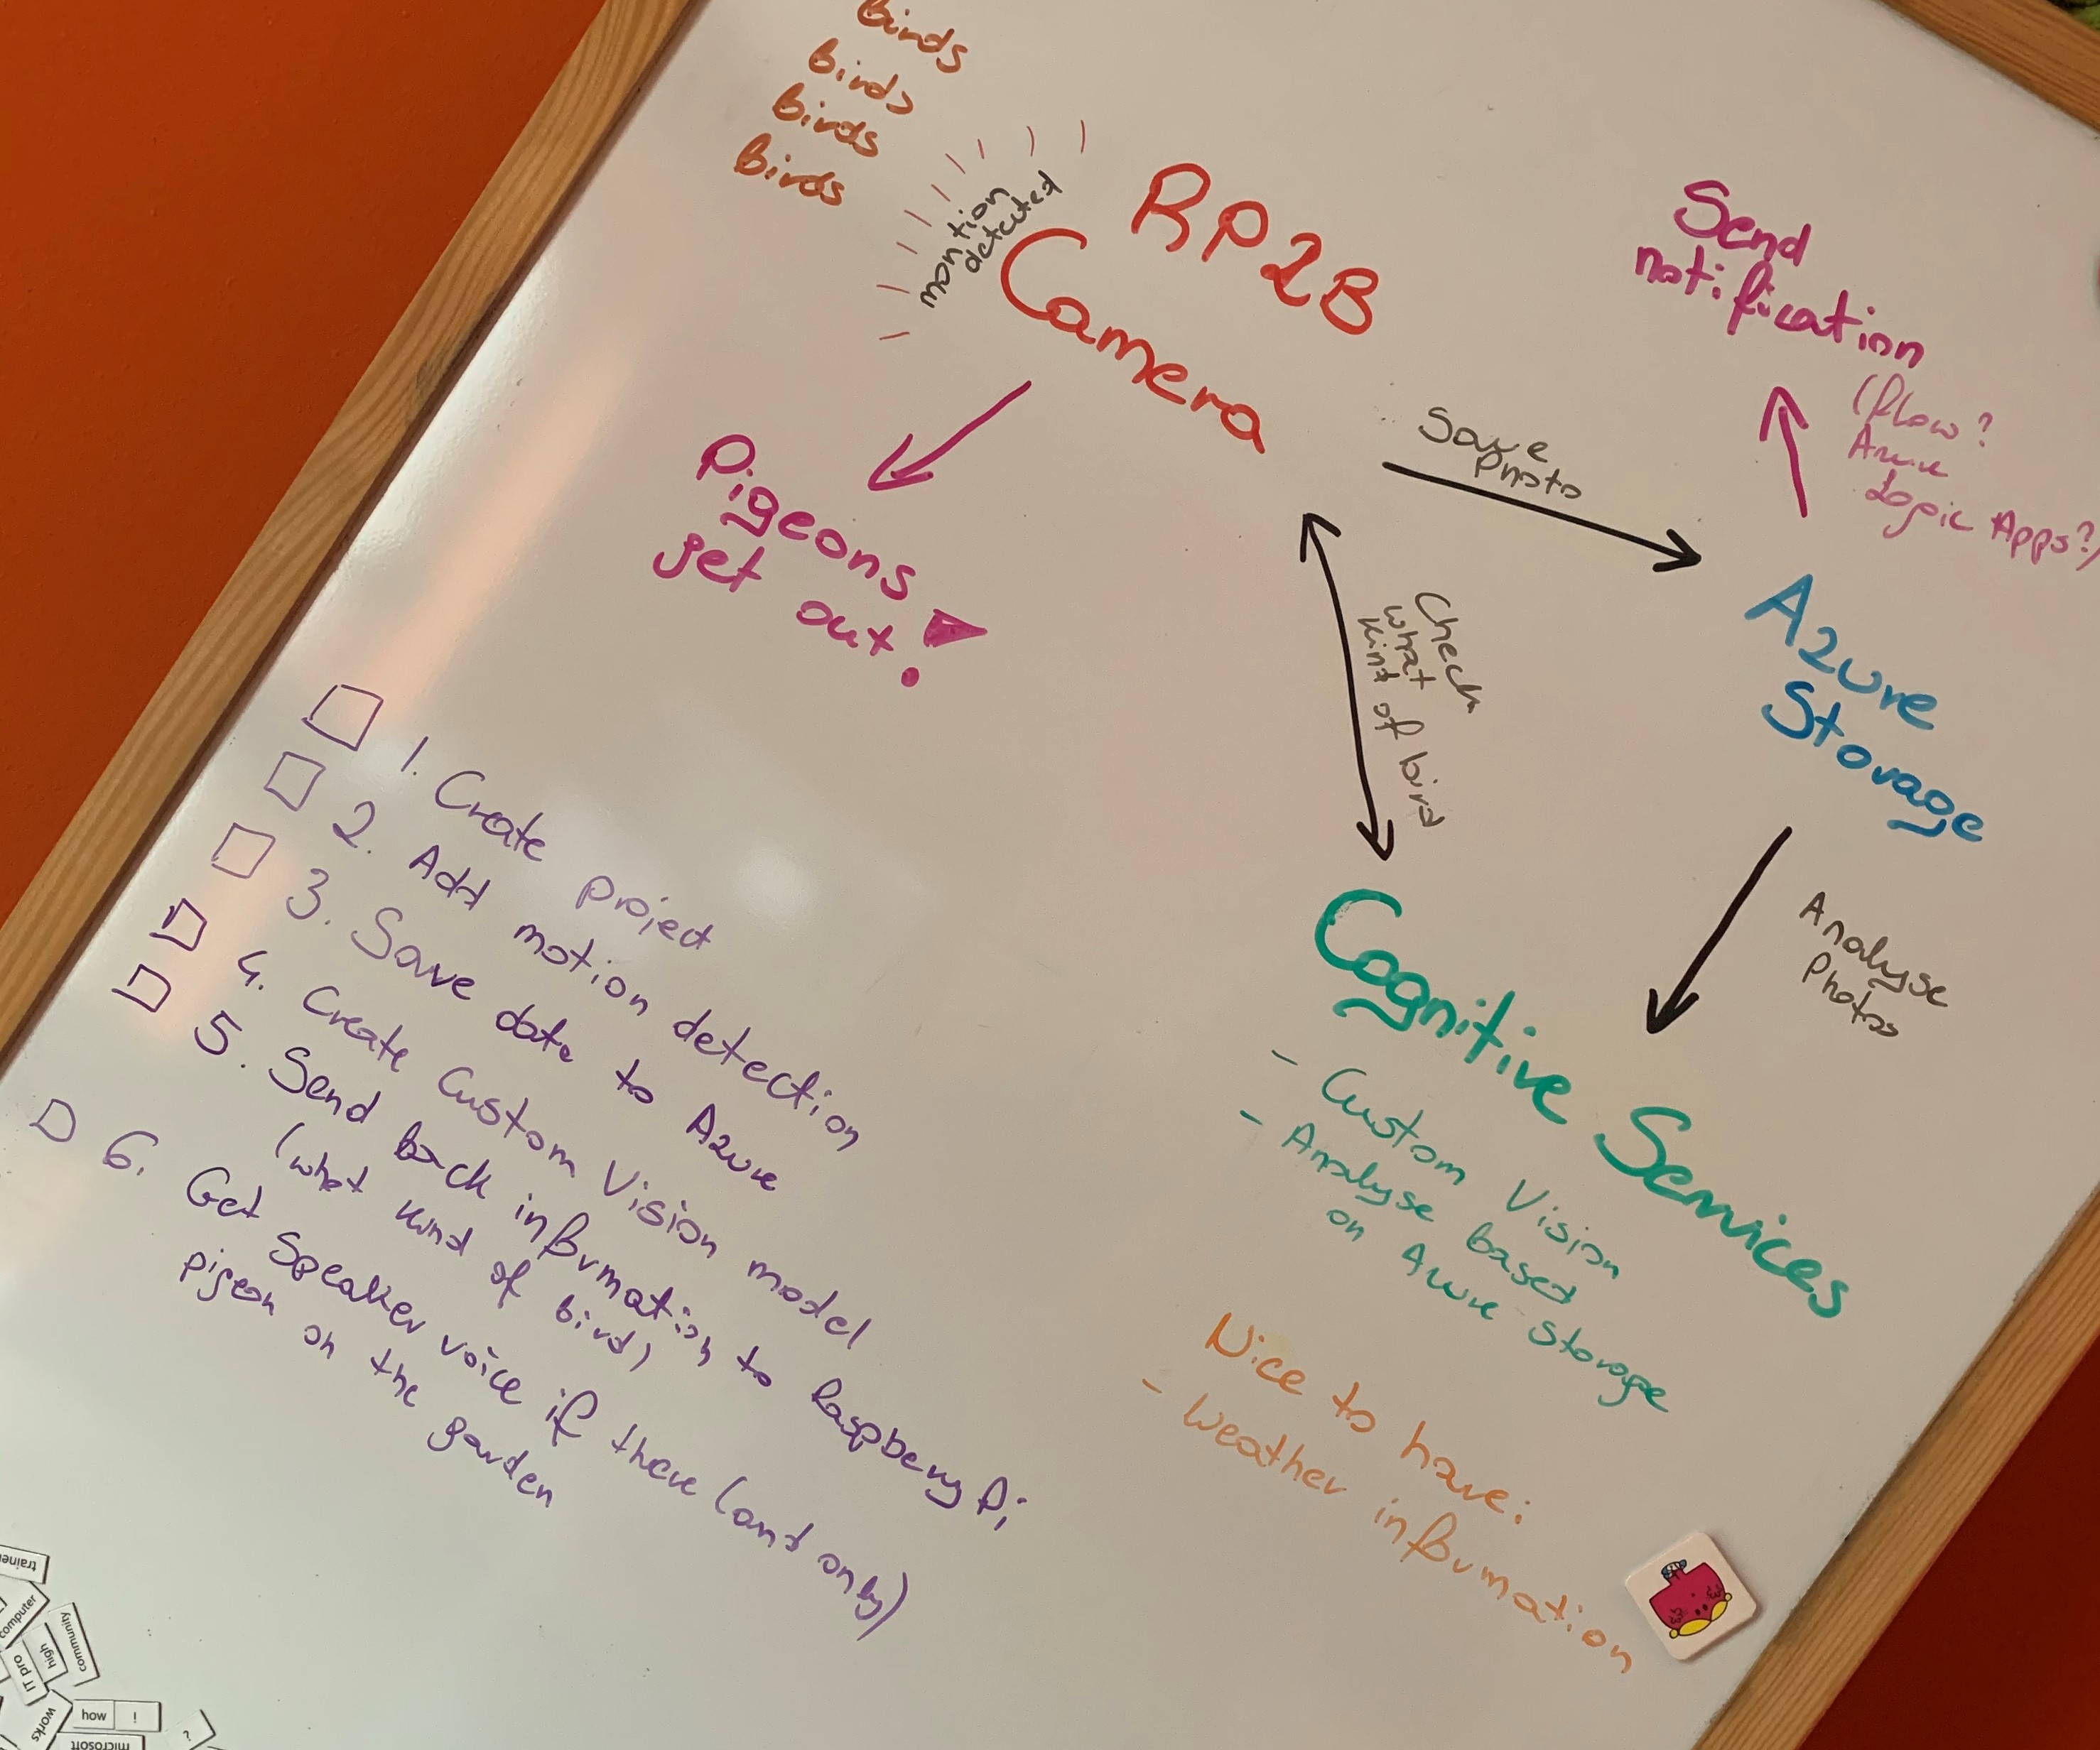
There are a few phases of the project:
- Get ready with Raspberry PI and get some simple webcam output
- Save photo to Azure/OneDrive when some motion will happen on the garden
- Create Custom Vision API to analyse with birds I like
- Add some sensor to create voice/movement etc when only pigeons are in the garden
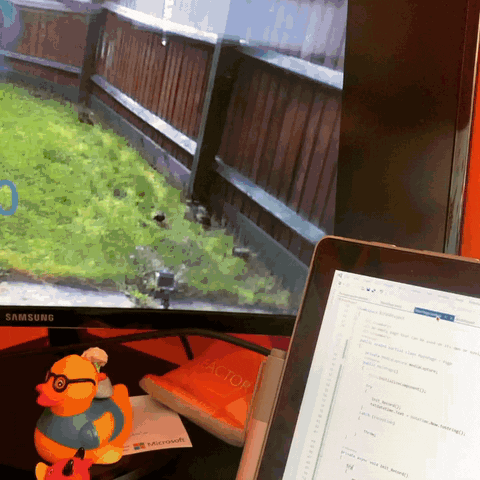
The first phase was to get ready my Raspberry PI with webcam:
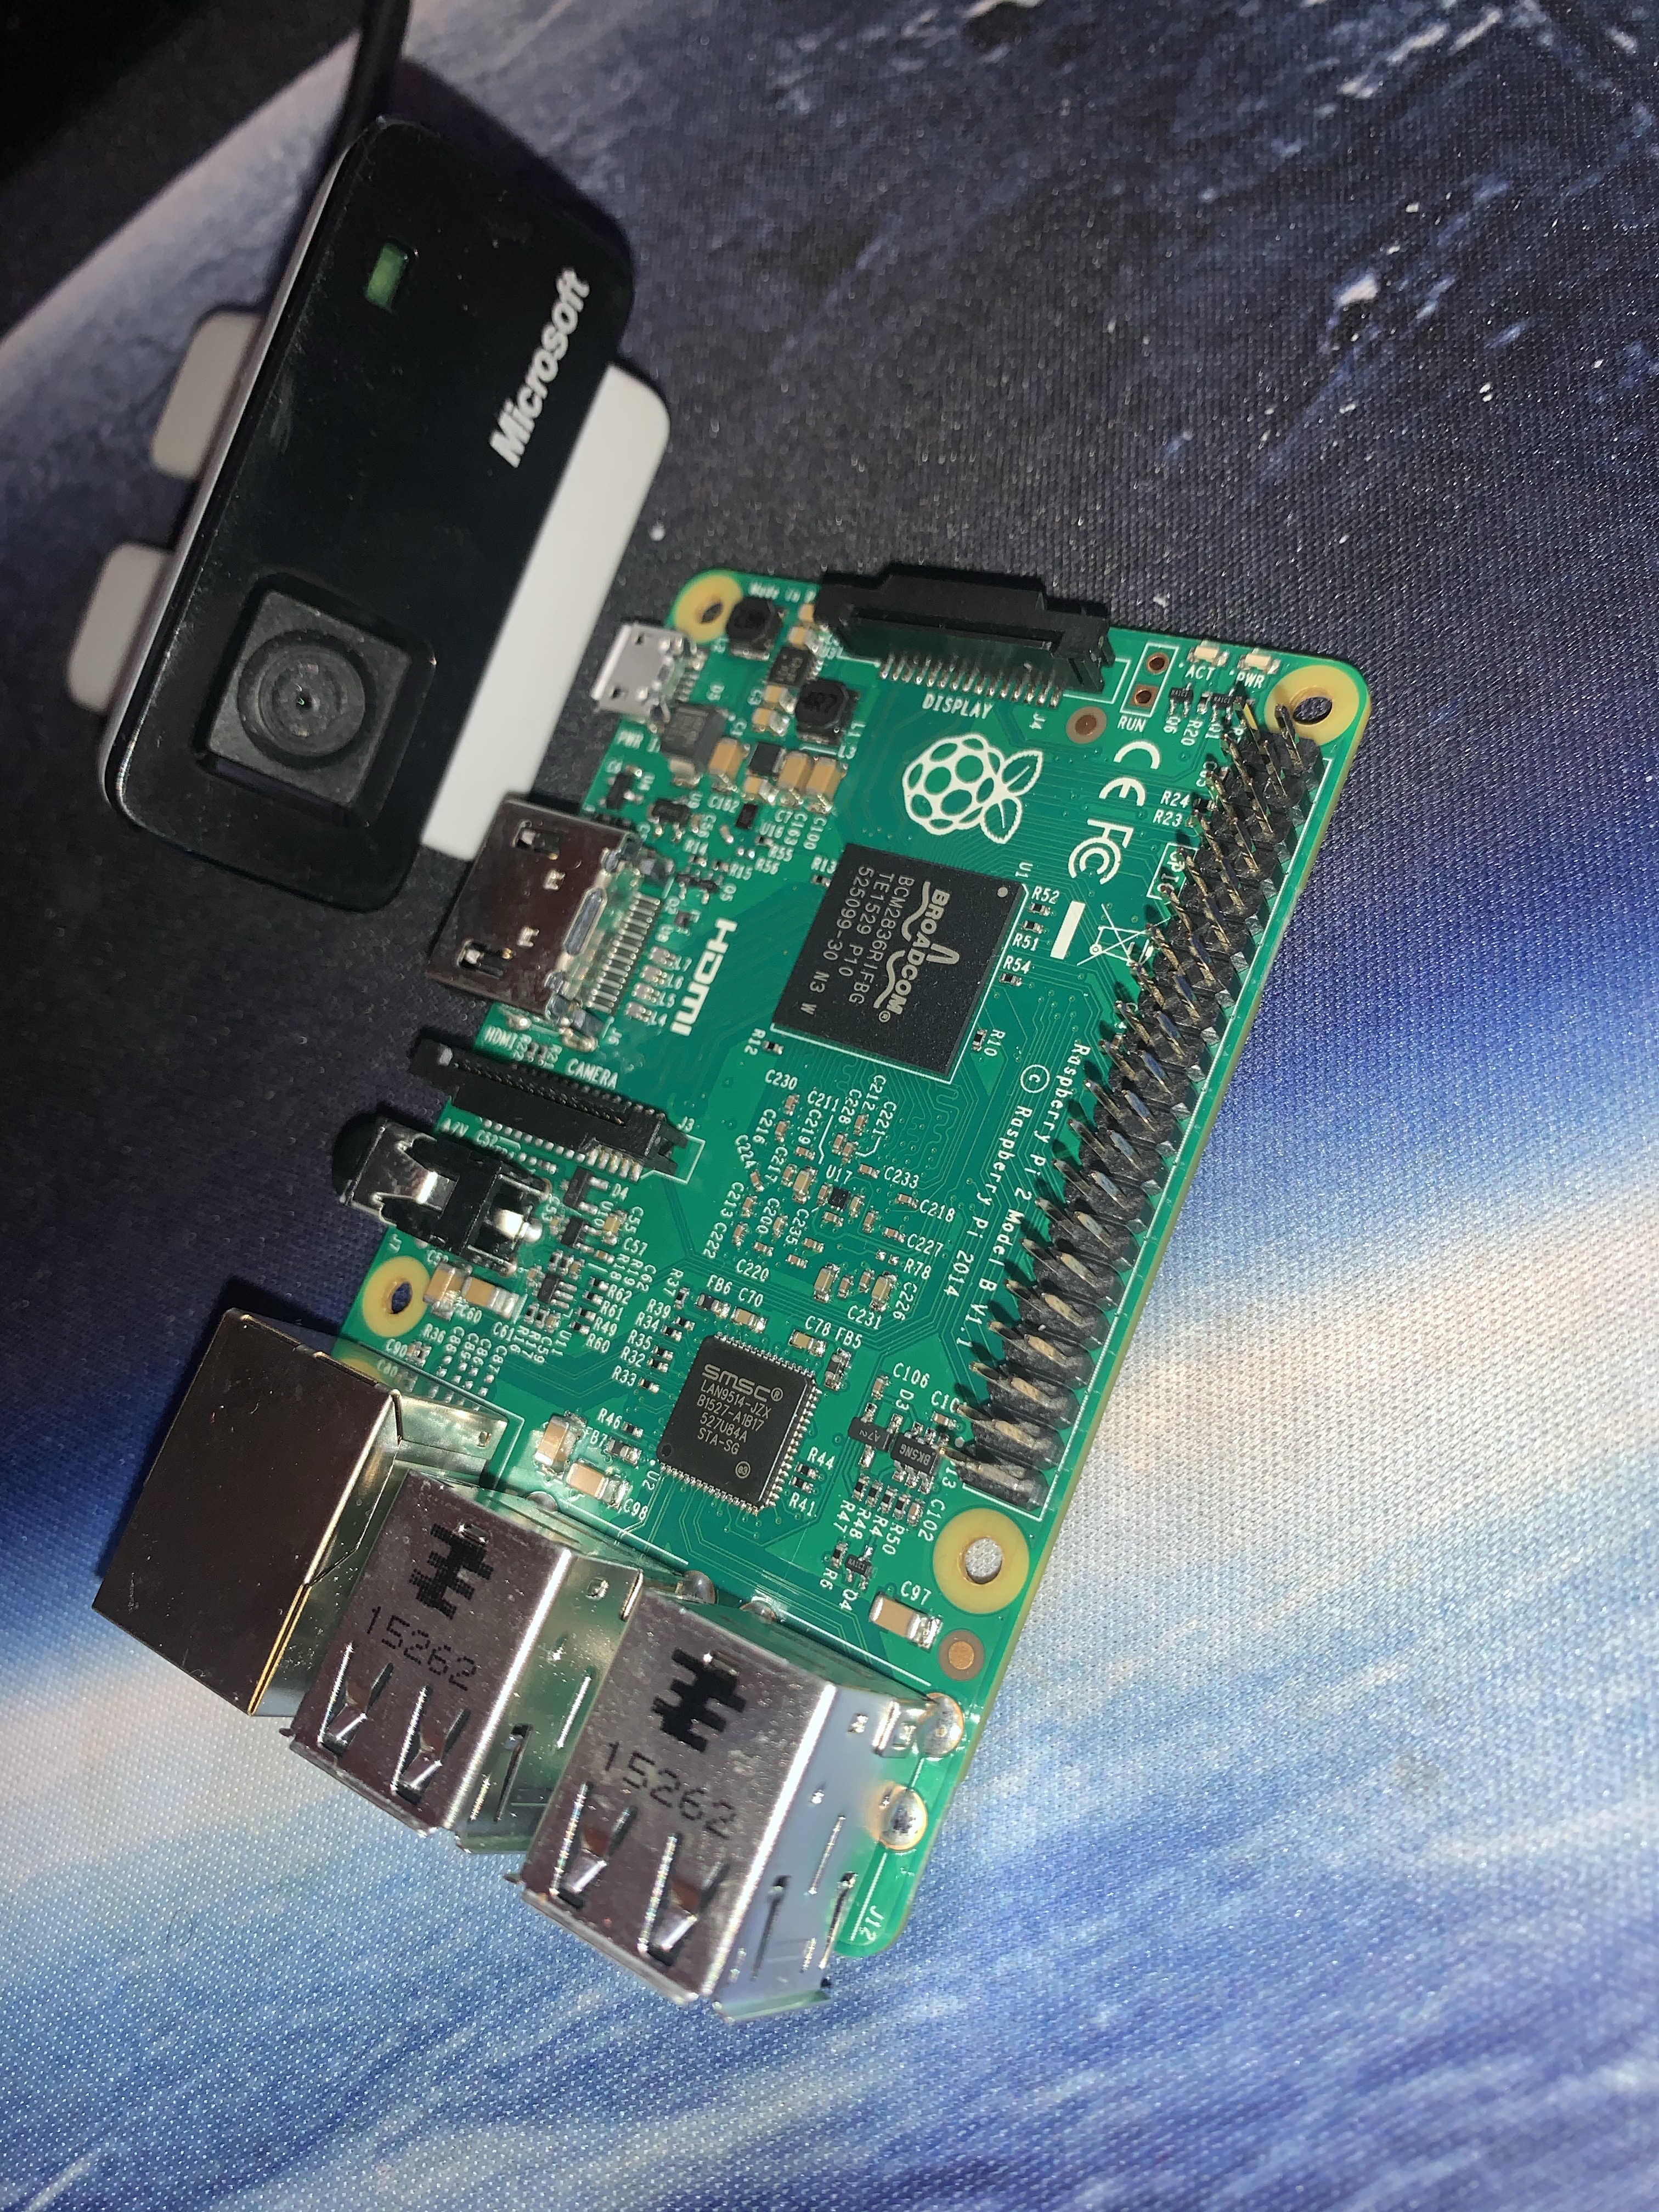
For this project, I use Raspberry PI 2 Model B and old Microsoft webcam ideal for this prototype.
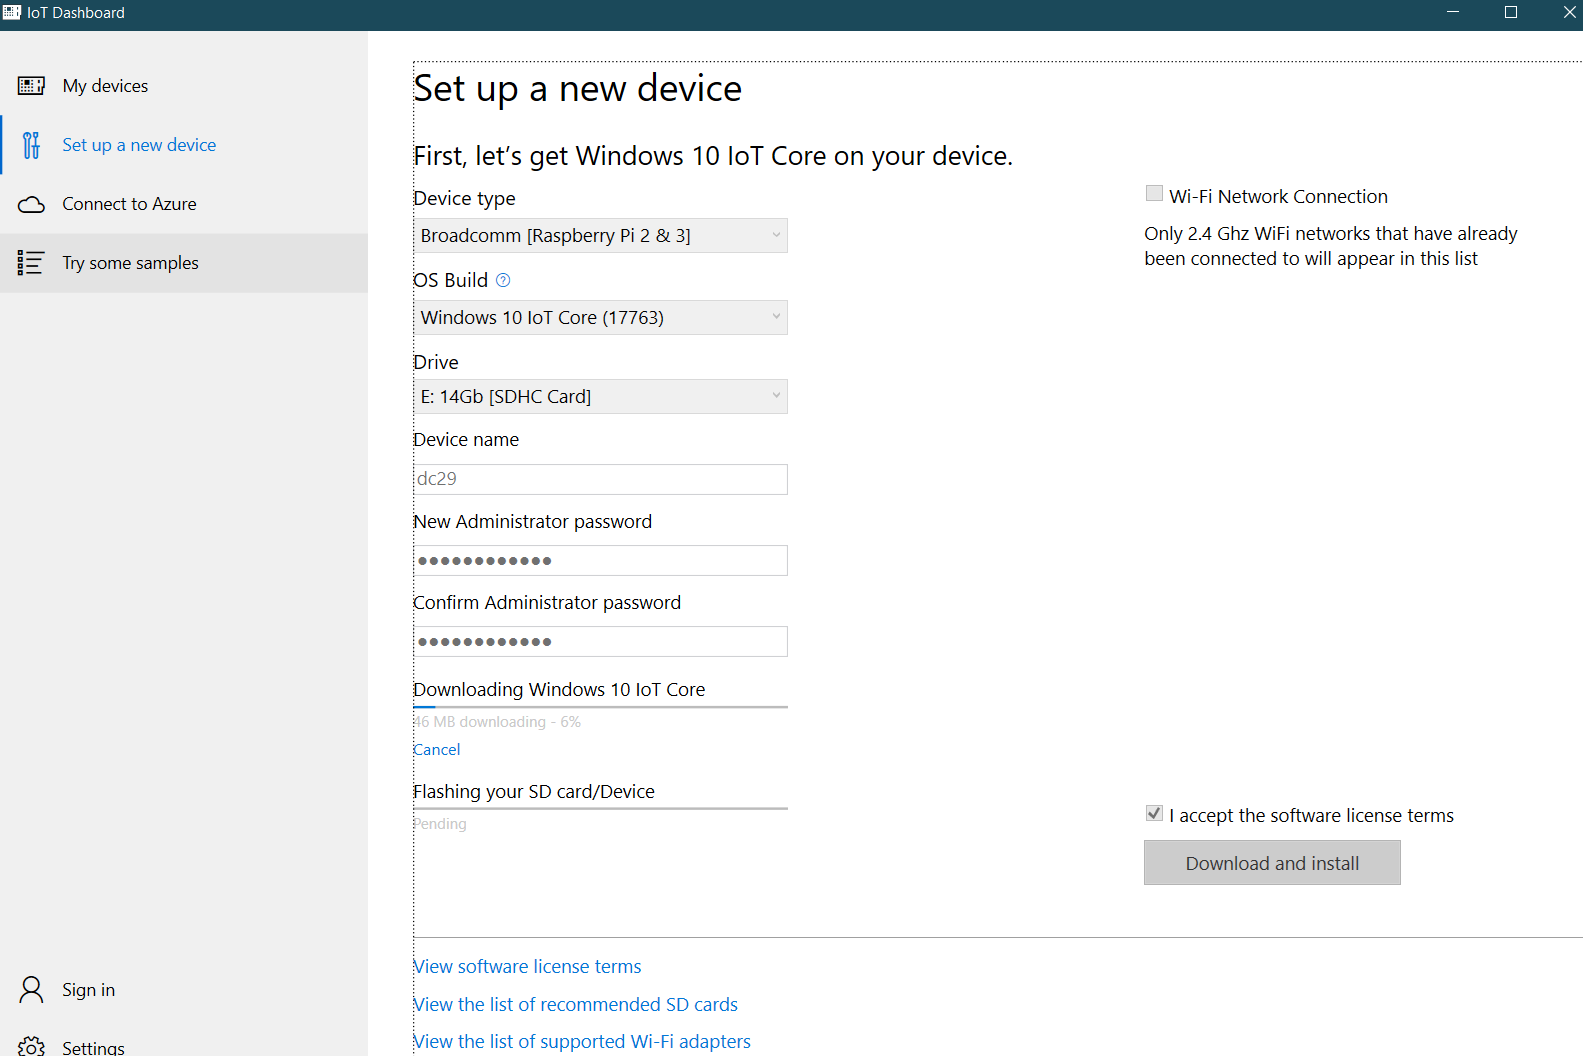
IoT Dashboard
I installed the IoT Dashboard to set up my device with Windows IoT Core.
To do that I’ve added Device name, OS Build, Device name and administrator password and inserted my microSD card to install Windows 10 IoT Core on this card.
After a few minutes, the download and installation on the SD card were completed and I could put the microSD card into my Raspberry PI.
A few minutes and restarts later, the Raspberry PI was
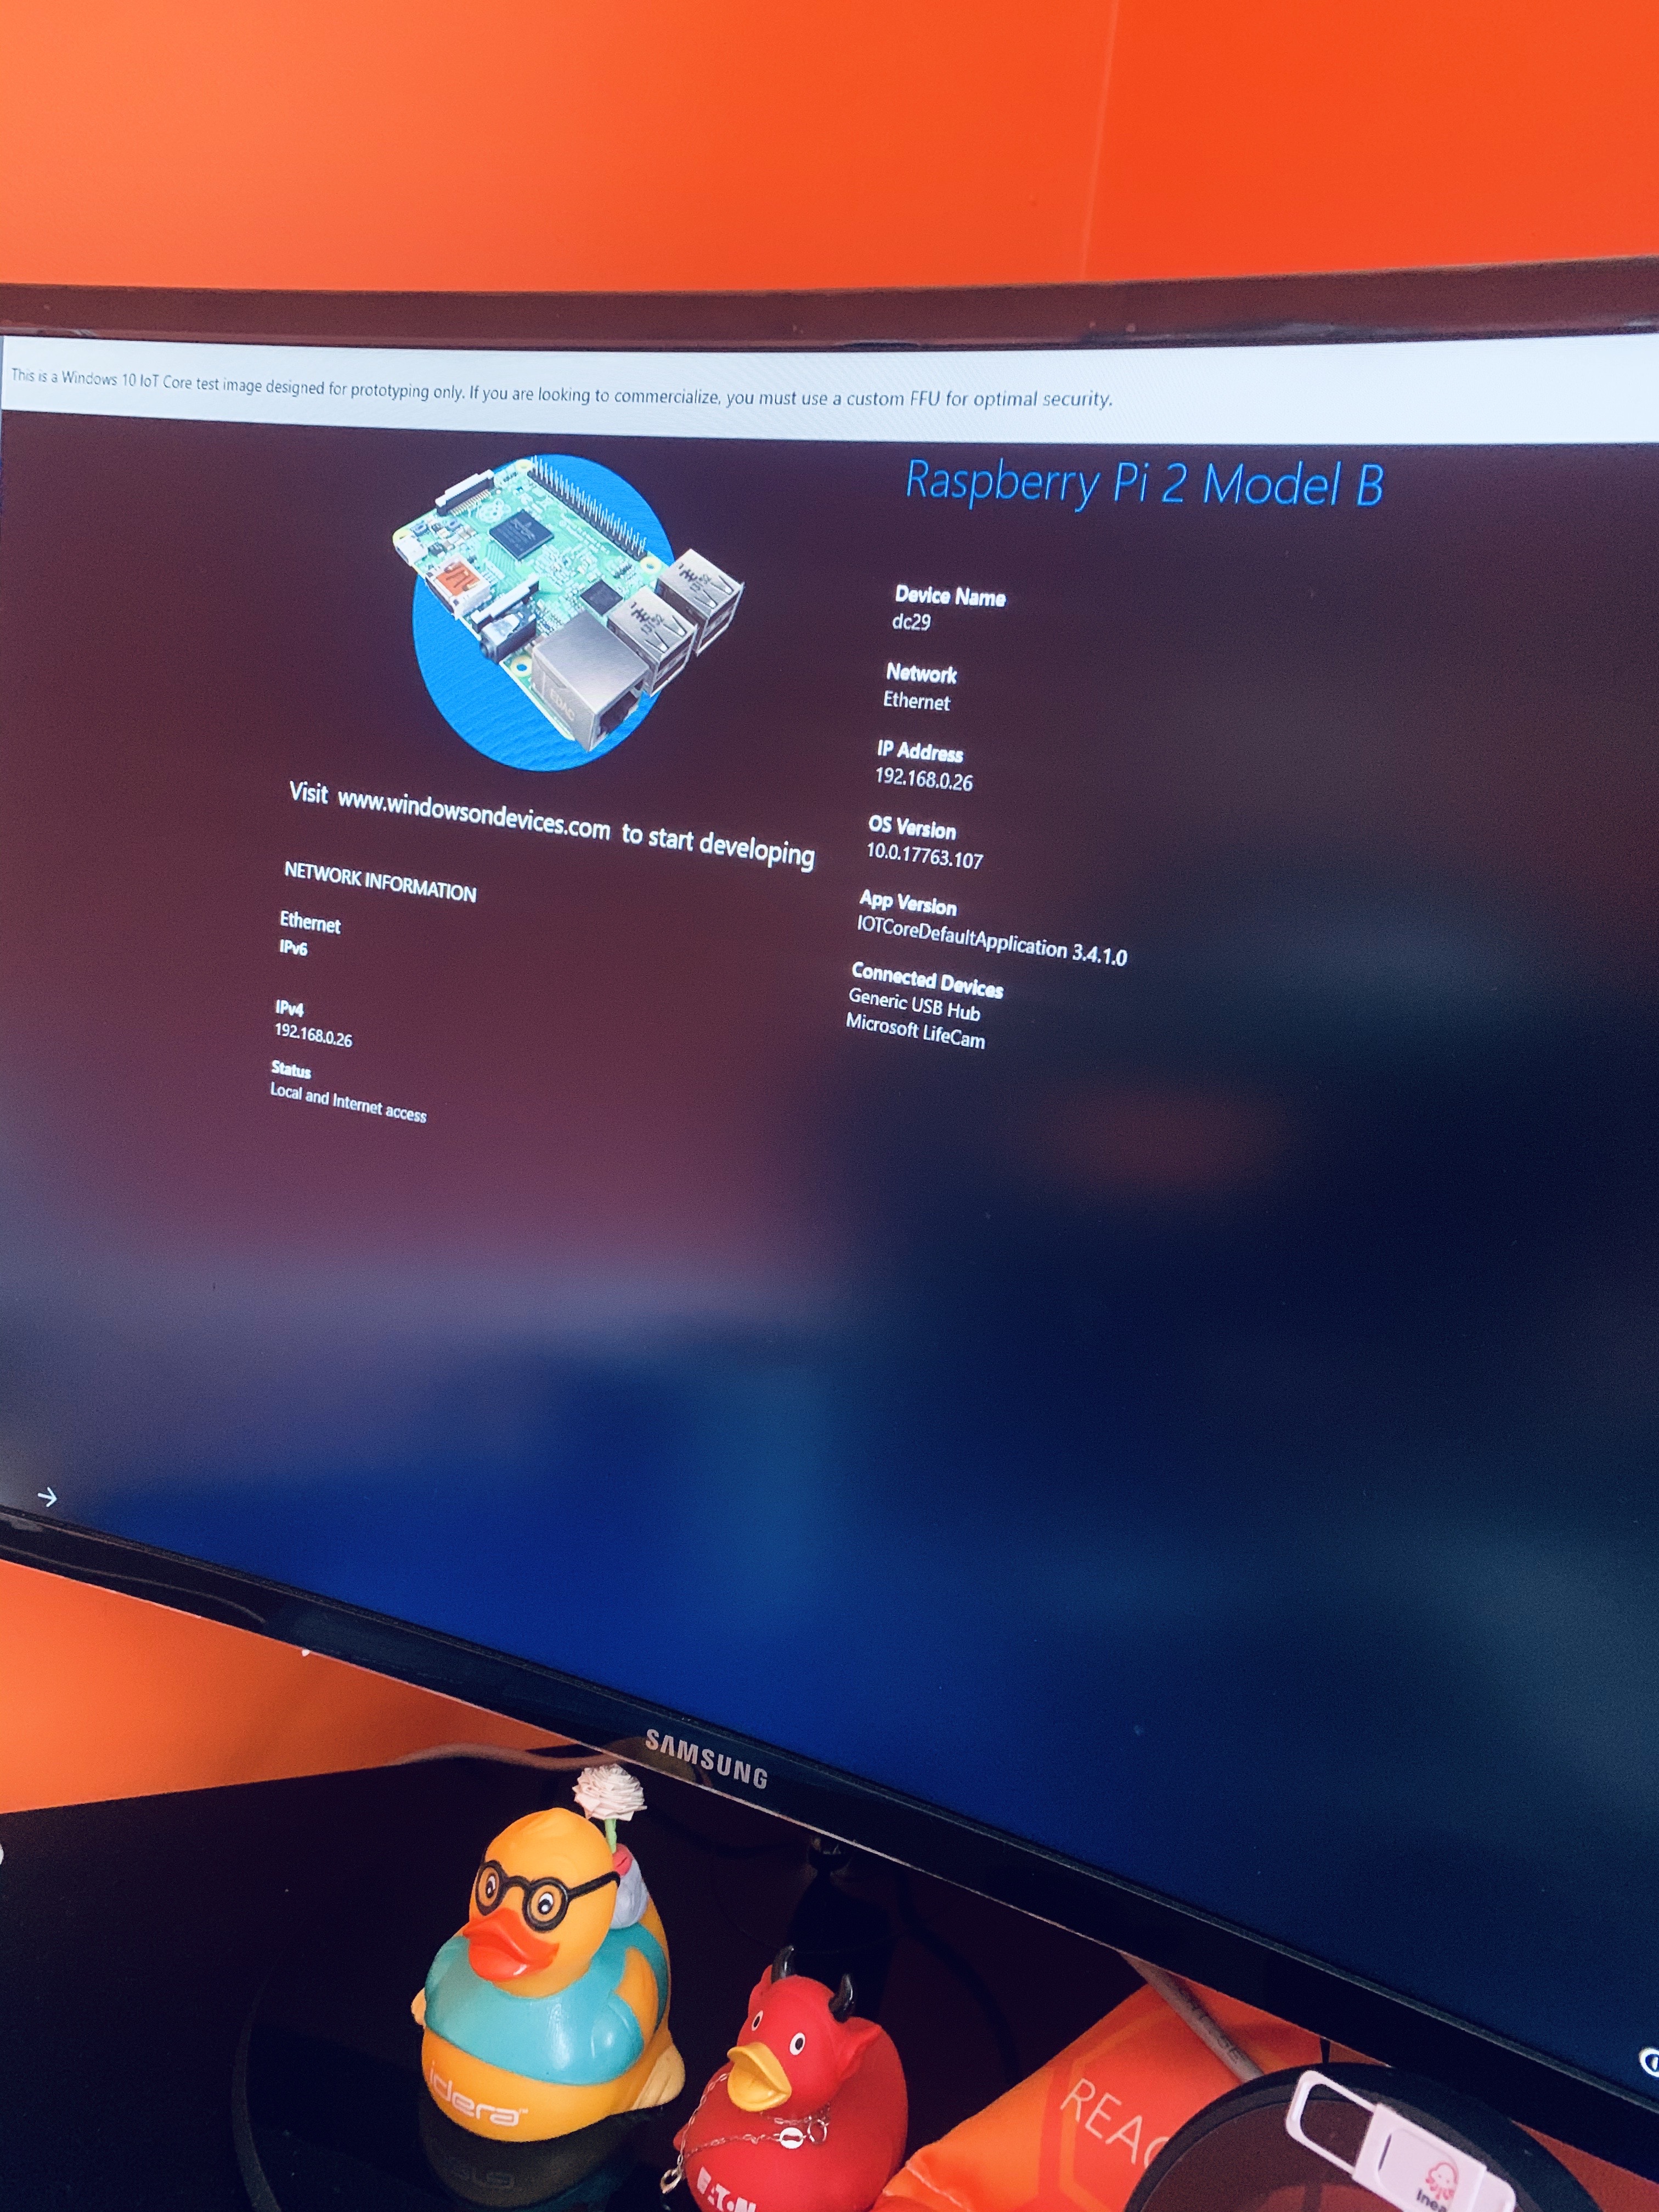
And when I’ve checked that my laptop is on the same domain as Raspberry PI, I started to see my device on the IoT Dashboard:
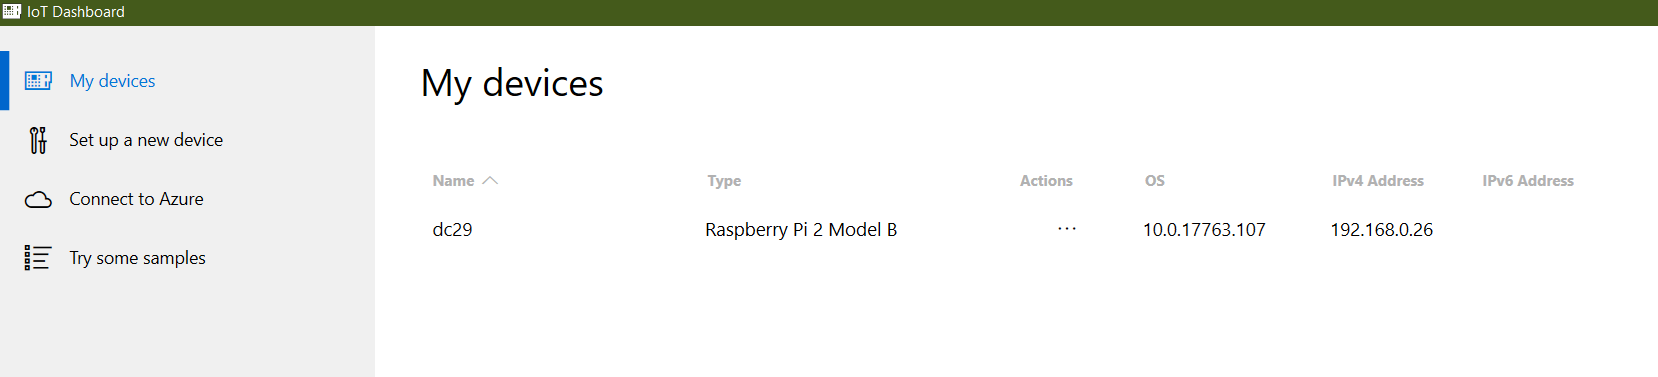
My device was ready to start developing!
Development time!
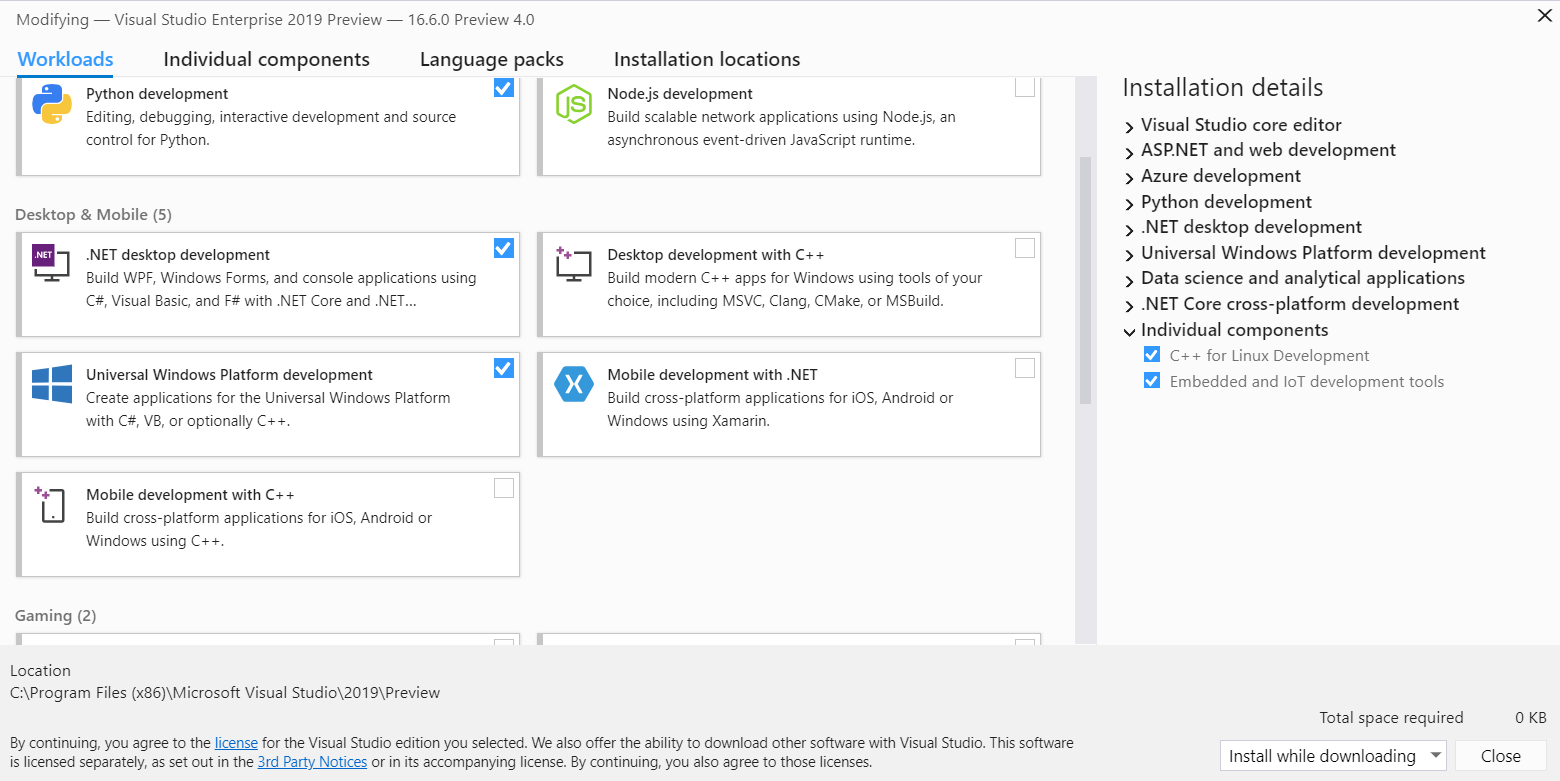
First, I read how I can start to develop application and I found that one way is to use Universal Windows Platform development that I’m not used at all before. So I back to Visual Studio Installer and added missing component.
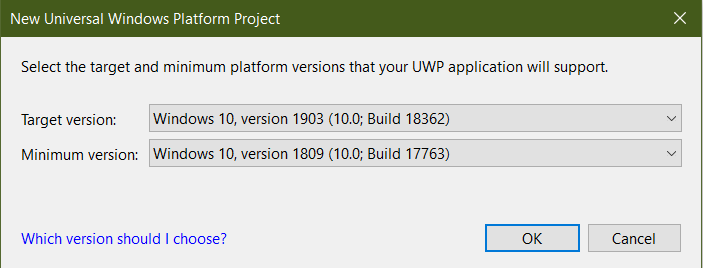
Created a blank app
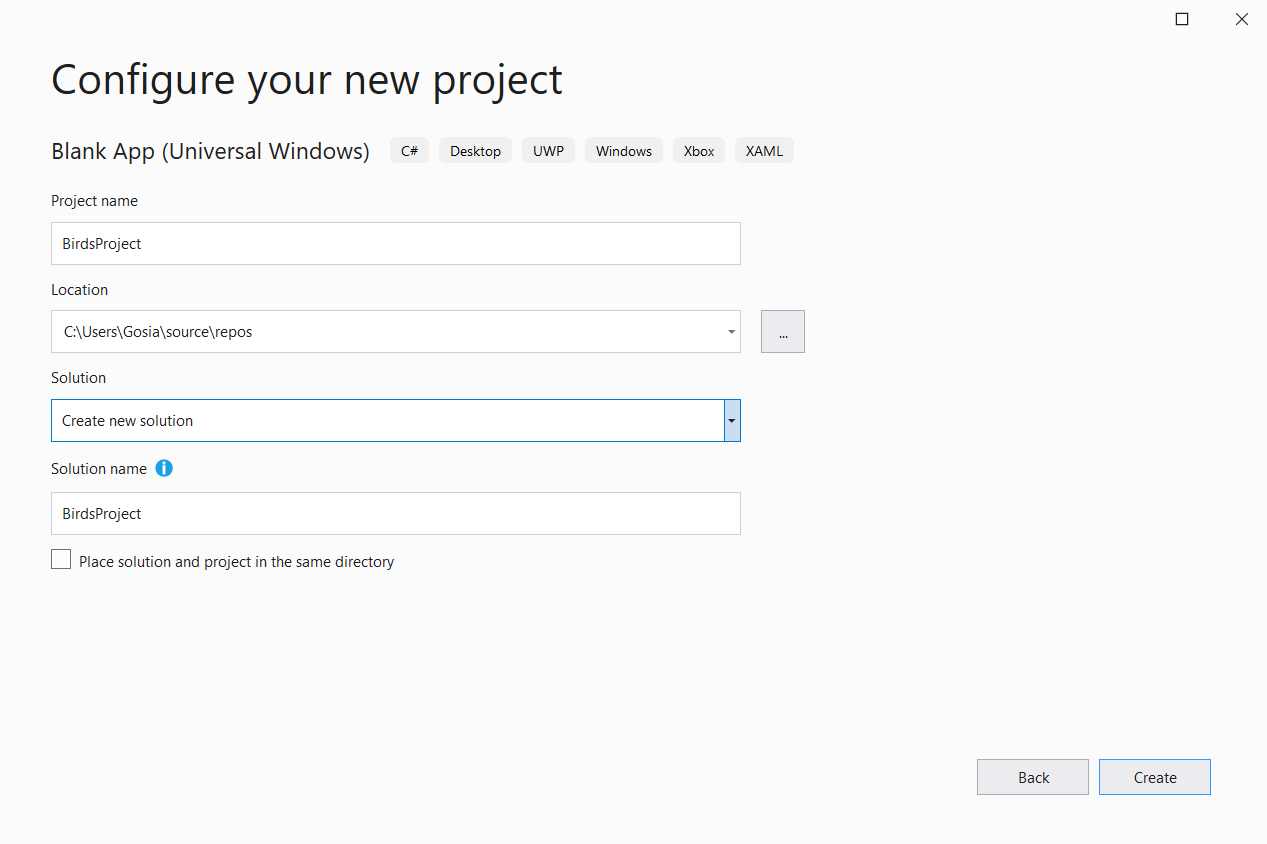
and the target for Windows 10 (as my Raspberry Pi already have Windows 10 IoT)
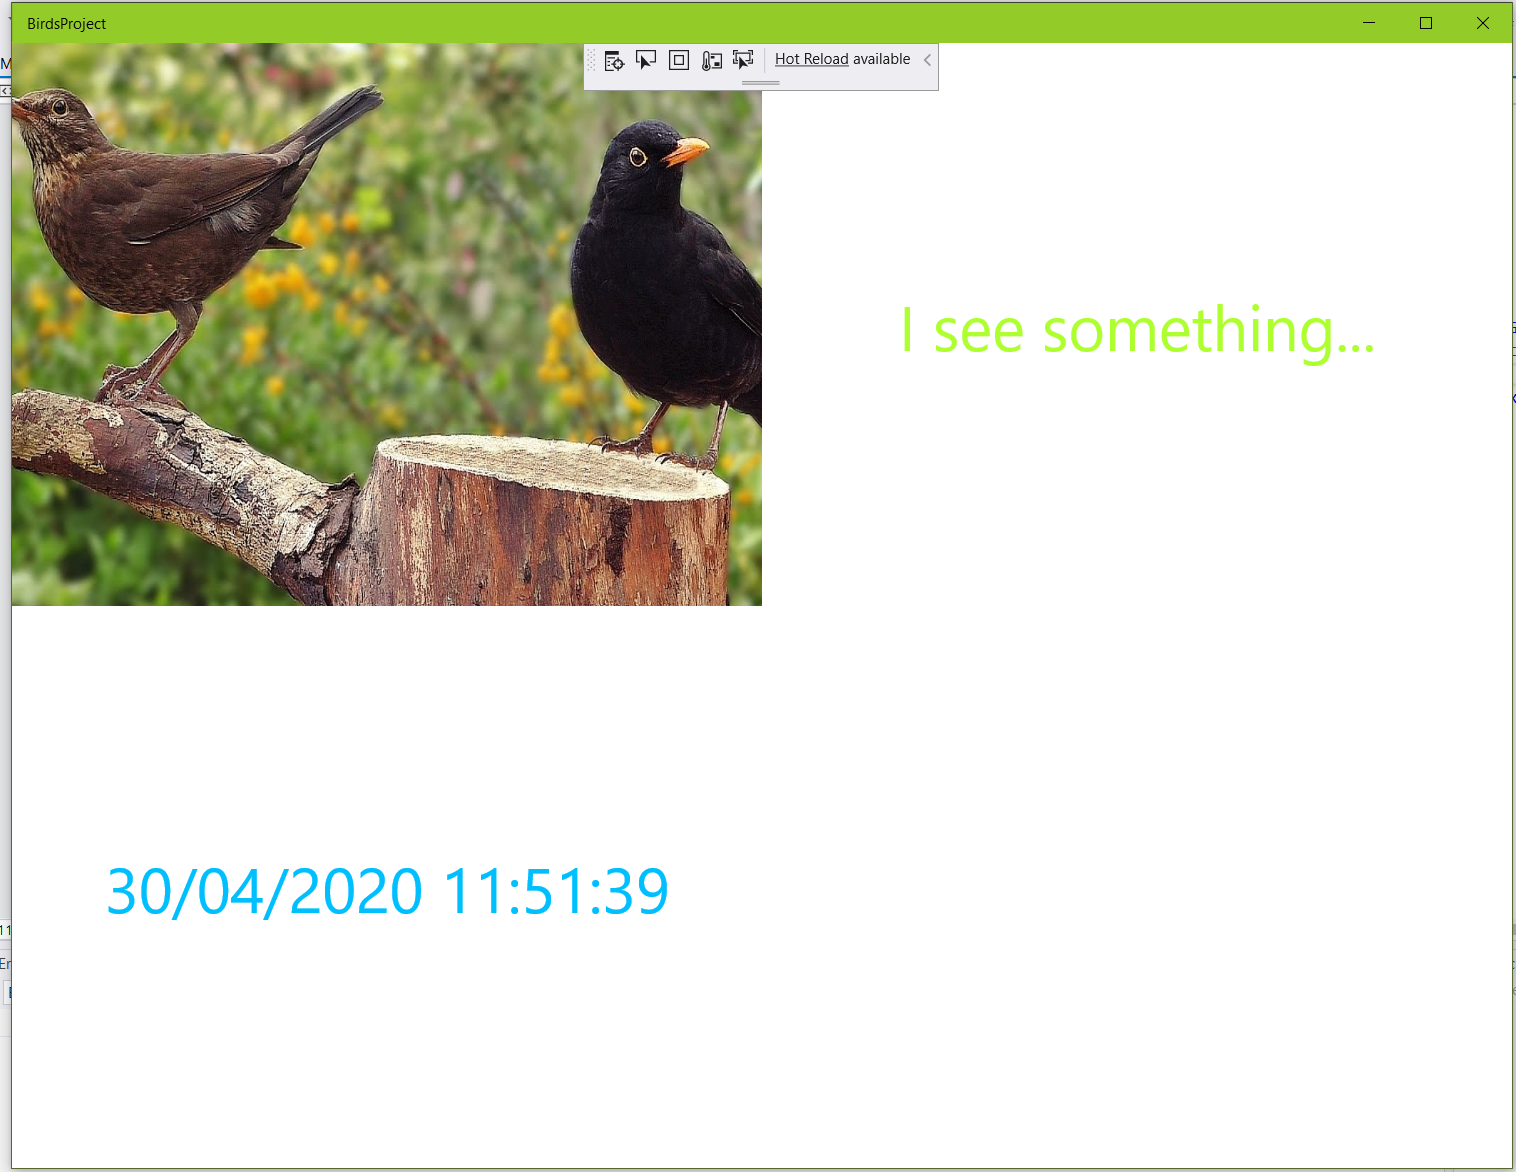
Debug code on Raspberry PI
To be sure that everything I setup correctly, I started by creating a simple project to debug it in the device.
I used grids to have three things:
• Photo (Video)
• Logs
• Current date and time
The code I use was for MainPage.xaml
<Grid>
<Grid.RowDefinitions>
<RowDefinition/>
<RowDefinition/>
</Grid.RowDefinitions>
<Grid.ColumnDefinitions>
<ColumnDefinition />
<ColumnDefinition />
</Grid.ColumnDefinitions>
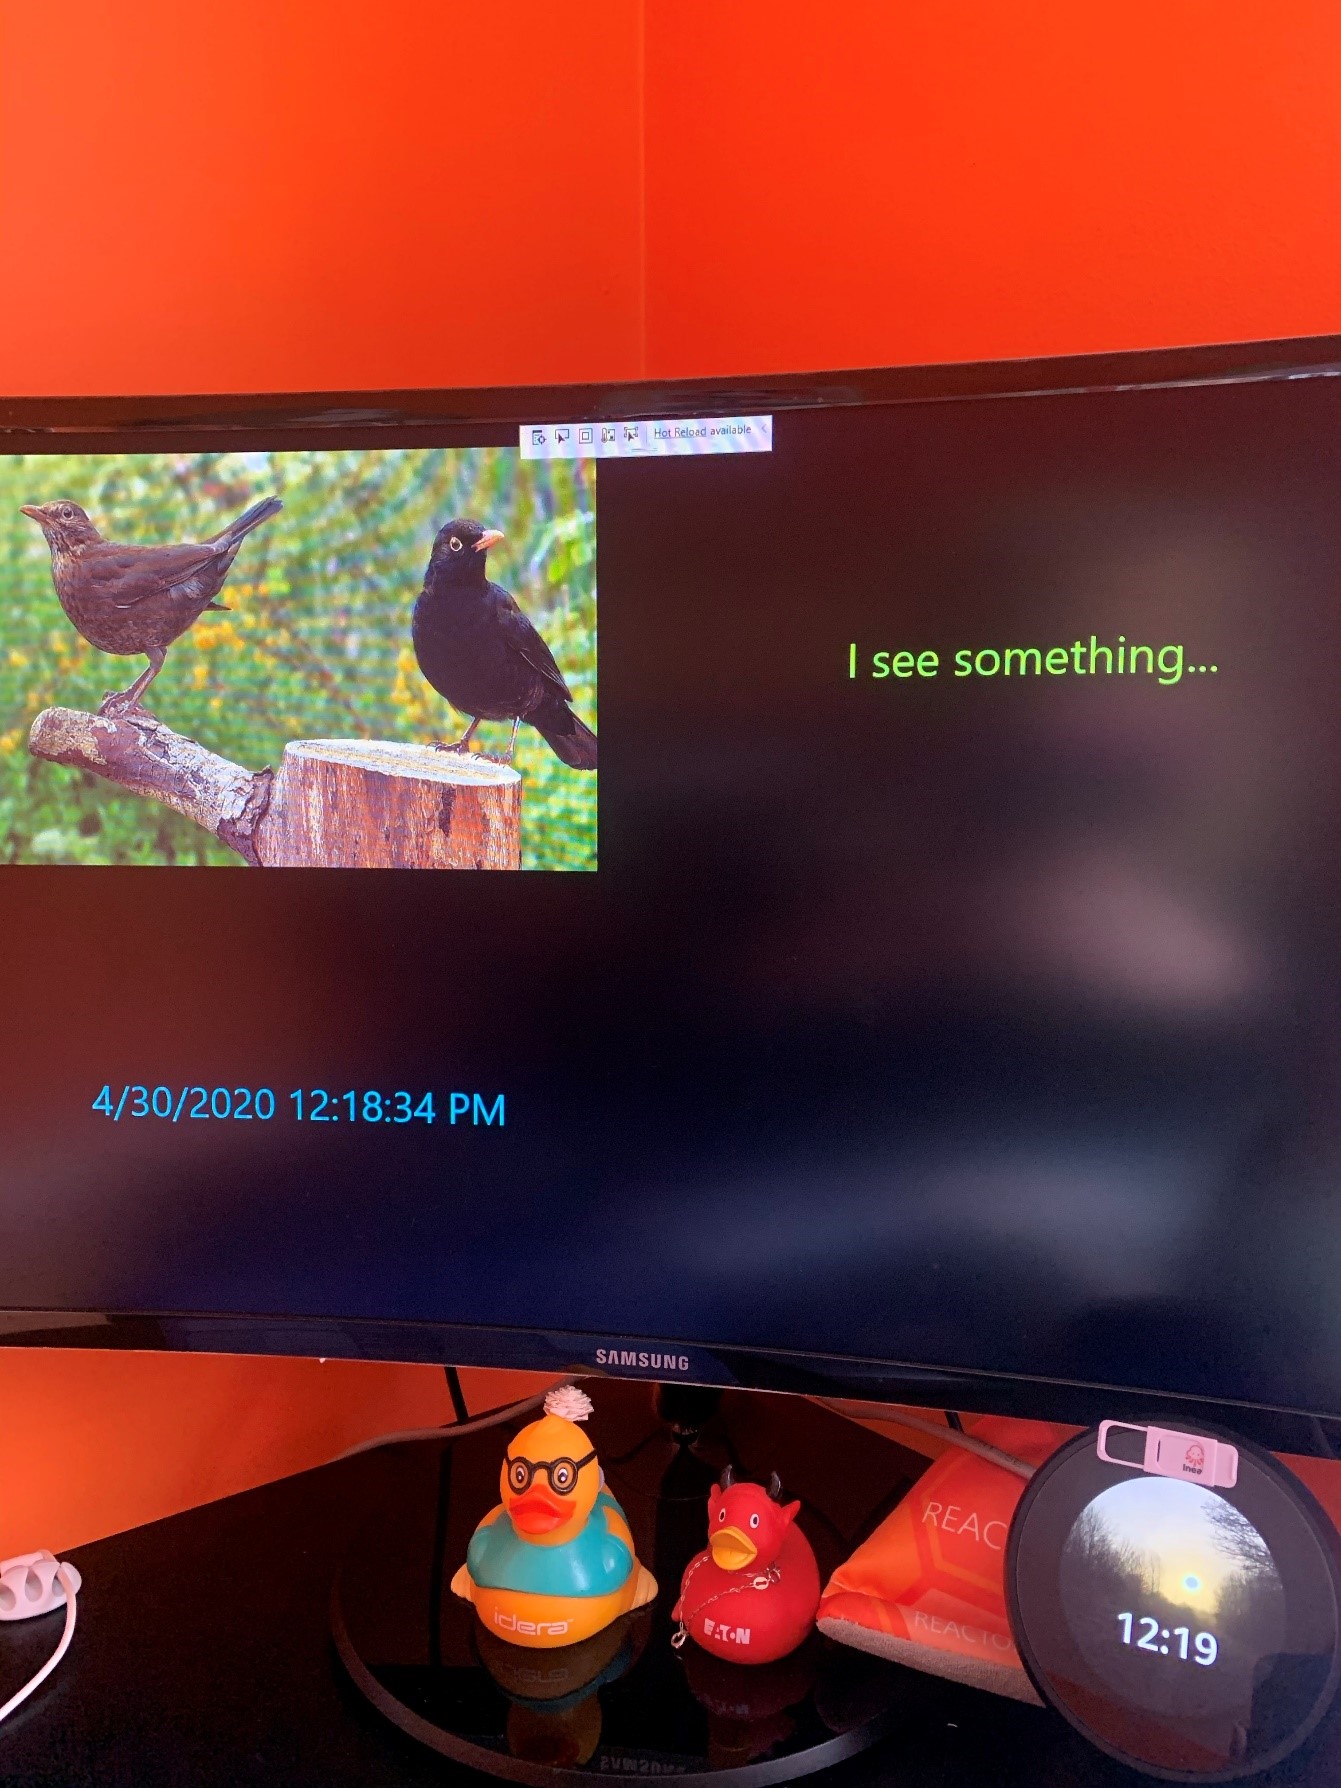
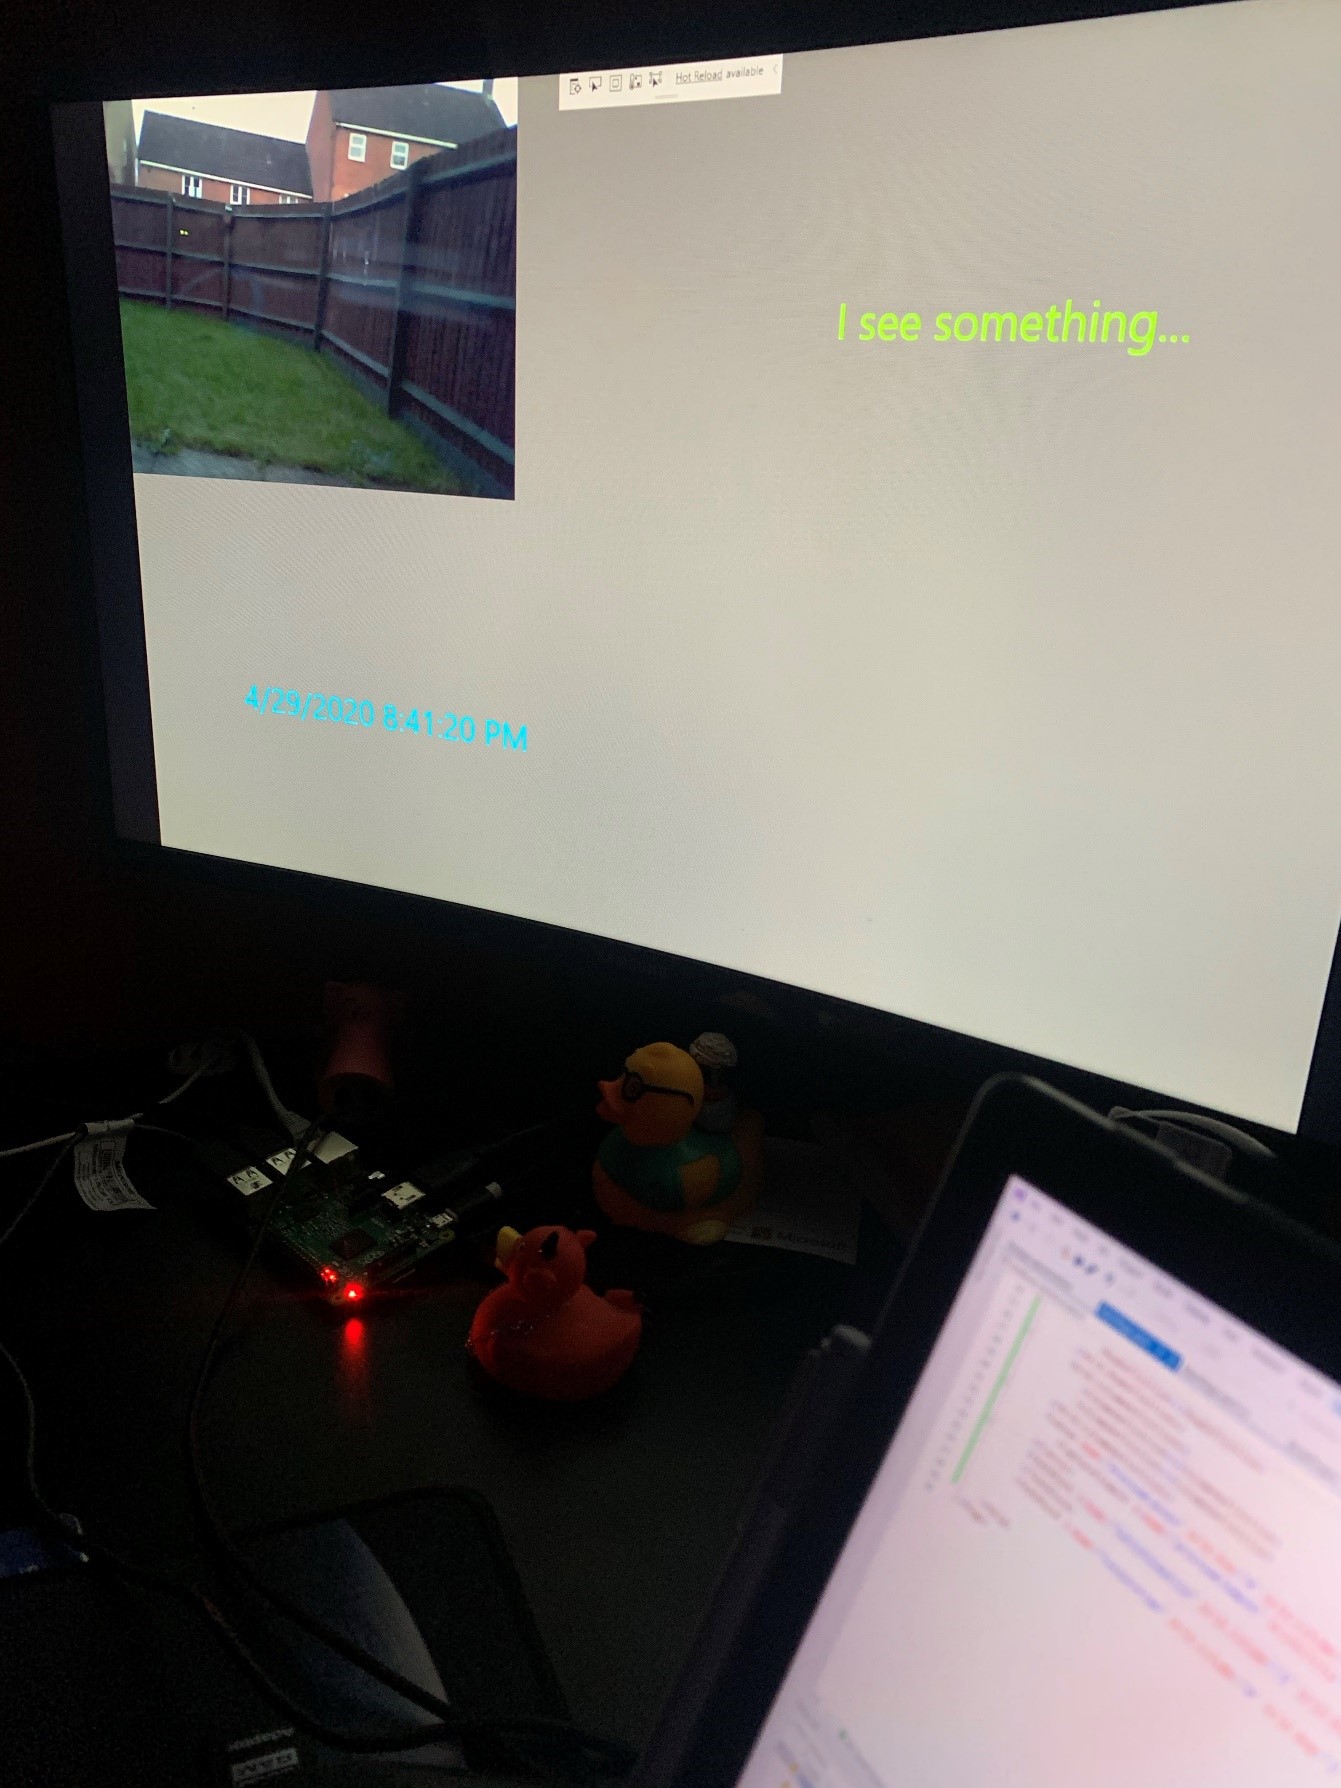
<Image Height="480" Width="730" HorizontalAlignment="Center" VerticalAlignment="Center" Stretch="Fill" Source="https://i.ytimg.com/vi/yJRarYStGEM/maxresdefault.jpg" />
<TextBlock x:Name="txtinformation" Grid.Column="1" Grid.ColumnSpan="2" Grid.Row="0" Text="I see something..." HorizontalAlignment="Center" VerticalAlignment="Center" FontSize="50px" Foreground="GreenYellow" />
<TextBlock x:Name="txtdatetime" Grid.Column="0" Grid.Row="1" Text="Time" HorizontalAlignment="Center" VerticalAlignment="Center" FontSize="50px" Foreground="DeepSkyBlue" />
</Grid>And MainPage.xaml.cs added simple current datetime
txtdatetime.Text = DateTime.Now.ToString();First I tested on the local machine that everything is working correctly.
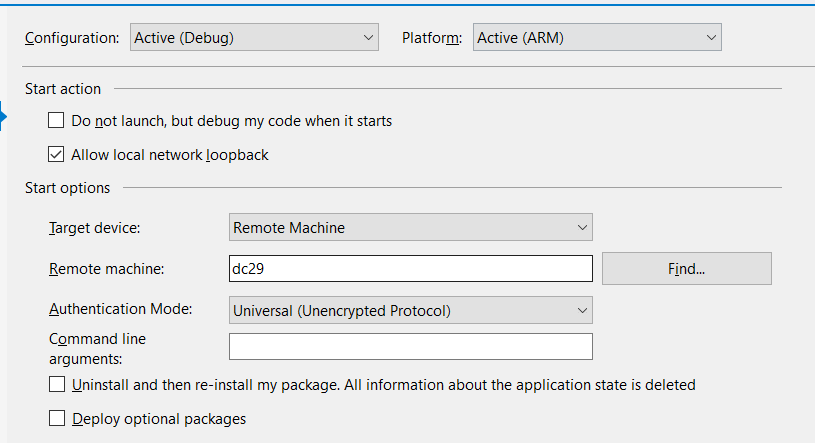
And next try to debug on the device. To do that I selected the Remote Machine
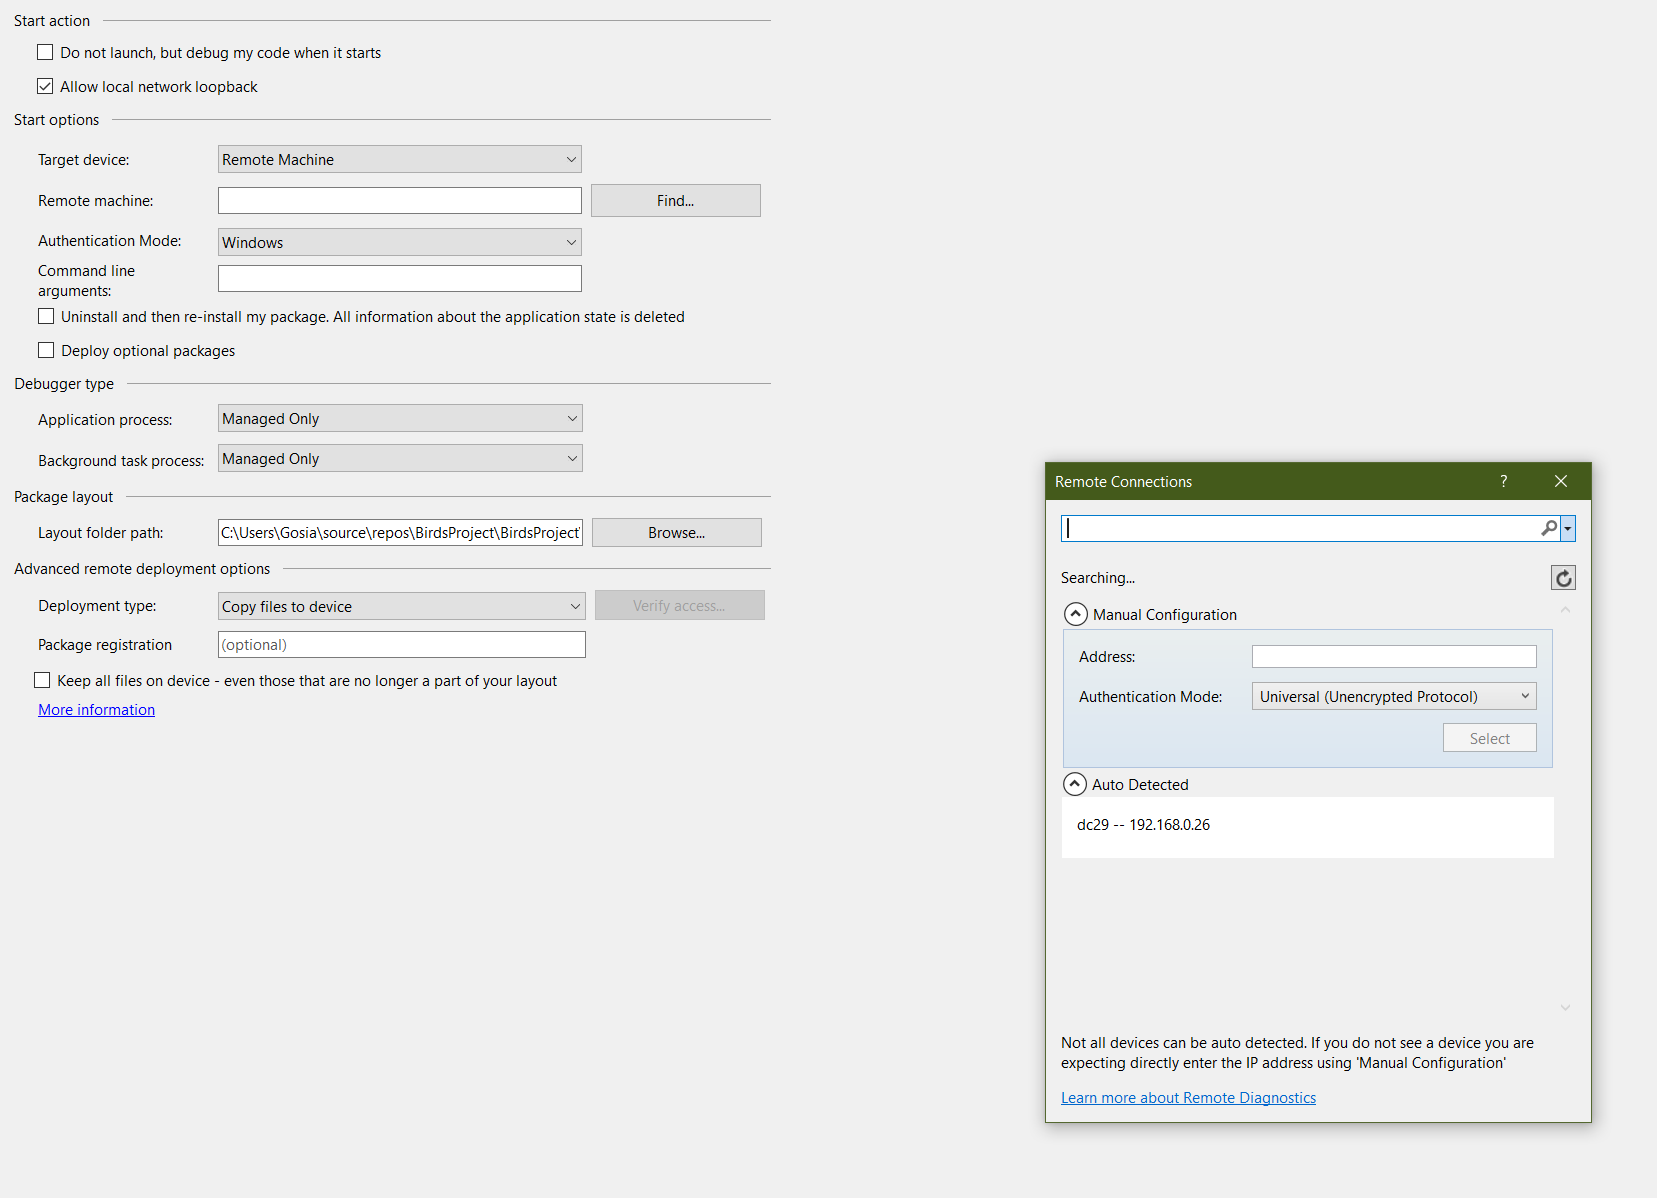
Find my device with Universal authentication mode
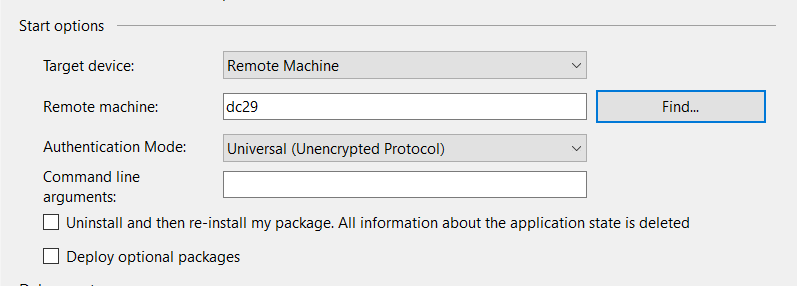
And got an error.
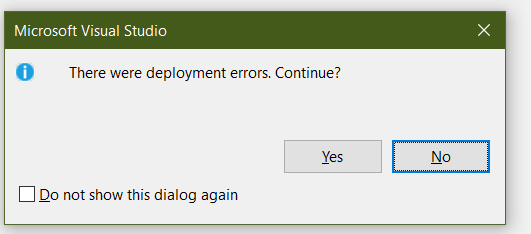
For me, the error is shown because I was not set up to use ARM version
When resolving this issue, clean and rebuild the project I could happily see that from now I can debug my code on the Raspberry Pi.
Adding webcam output
Now, I want to replace picture with output from the camera.
To do that I used a build-in canvas and change the Image code with:
MainPage.xaml
<Canvas Name="PreviewCanvas" Grid.Row="0" Grid.Column="0" Background="Gray" Visibility="Visible">
    <CaptureElement x:Name="previewElement" Visibility="Visible" HorizontalAlignment="Center" VerticalAlignment="Center" Stretch="Fill" RequestedTheme="Light"></CaptureElement>
</Canvas>
MainPage.xaml.cs
public async void InitMediaCapture()
{
try
{
MediaCapture = new MediaCapture();
await mediaCapture.InitializeAsync();
previewElement.Source = mediaCapture;
await mediaCapture.StartPreviewAsync();
}
catch(Exception ex)
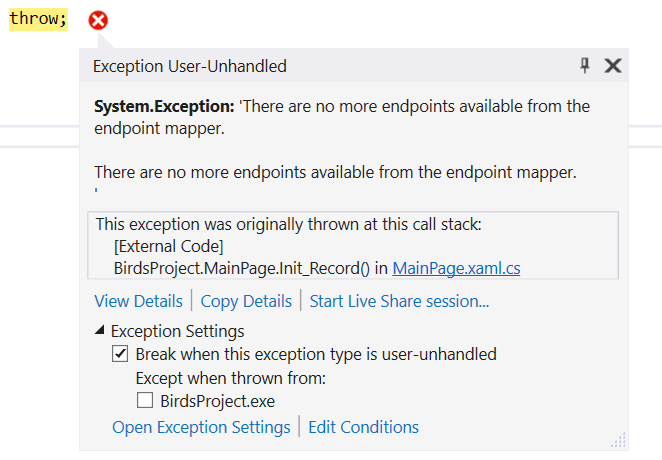
{
throw;
}
}
When I run my code, I’ve got an error message:
There are no more endpoints available from the endpoint mapper
On the local machine, where the camera is build-in, the error was little different:
“Access is Denied”

It takes me a while to find that the changes need to be added into an app manifest:
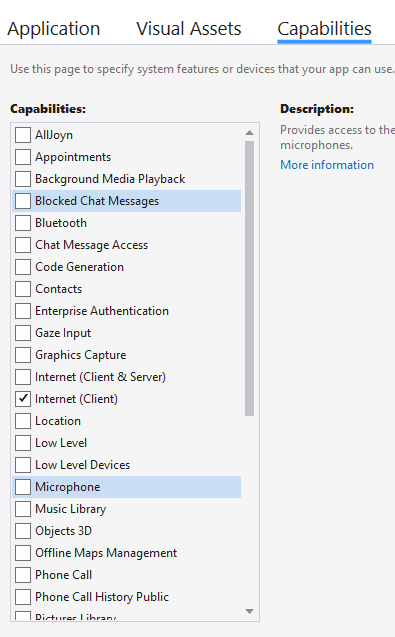
The checkbox that I needed to add to see changes was:
• Webcam
• Microphone
On the local machine, it asked me to allow use the microphone and webcam and on Raspberry PI it’s just started working nice.
And I think birds already knew that I’m doing a project about birds because the thousands of them come to visit my garden 😊